
By Sarah J. · November 28, 2025
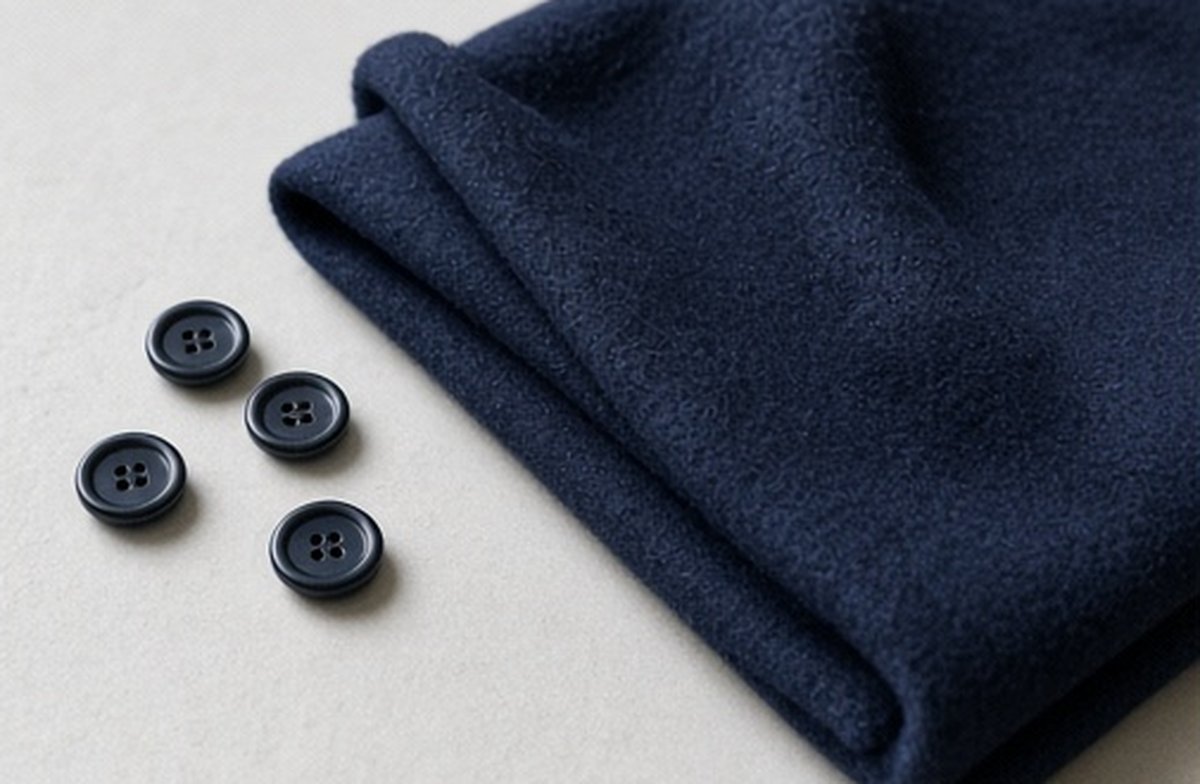
Choose a repair set of vintage buttons by function and position before deciding whether the colours should match. Record the original parts and actual buttonholes, then compare the intended replacements with the garment’s construction; visual similarity alone does not establish a workable fastening.
Key takeaways
- Identify each position.
- Check function before colour.
- Keep original parts together.
Record what remains
Lay out the available components appropriately and identify which positions are missing or damaged. Keep original parts with the garment. Do not assume every button on a coat has the same job or can be exchanged between locations.
Compare functional details
Size, shape and thickness can matter alongside appearance. Use appropriate advice if the fastening or fabric is unfamiliar. A beautiful replacement is not useful if it does not work comfortably with the actual buttonhole and surrounding construction.
Agree the finished arrangement
If a repairer is involved, explain whether matching or intentional contrast matters to you. Do not authorise an uncertain substitute simply to complete the job quickly. Keep any retained originals identified for a later decision rather than mixing them into an anonymous jar.
How do you assess vintage buttons before choosing replacements?
Start with the garment laid out in an appropriate way and identify which positions are missing, loose or damaged. Make a simple note of the existing arrangement before moving components. Include decorative buttons as well as working fastenings, but do not assume they are interchangeable. A cuff, front opening and spare button may have different dimensions or attachment requirements even when they look related.
Keep detached original parts with the garment in an identified suitable container. Do not merge them into a general collection while the repair decision is unresolved. Photographs can help preserve the arrangement, but use the physical parts and construction when assessing compatibility. A picture alone may conceal differences in thickness, attachment or the condition of an older component that matters during the actual repair.
Which details matter besides diameter and colour?
Look at shape, thickness, attachment type and the way the button sits in relation to the garment. Compare the actual buttonholes and surrounding fabric rather than choosing a replacement from a colour description. A button that looks similar from above can behave differently when fastened. The relevant question is whether the complete fastening works without forcing the component or pulling the fabric into an unintended shape.
Where the material or construction is unfamiliar, ask a competent repairer to assess the garment and proposed parts together. Do not enlarge a buttonhole or change an attachment area to rescue a decorative favourite by guesswork. A reversible choice of another appropriate button may be simpler than an alteration with consequences for the garment. Confirm the workable options before making the appearance decision final.
Should a repair set match exactly or use deliberate contrast?
Decide what kind of finished arrangement you want before sewing begins. A close visual match, a complete coordinated replacement and a deliberate contrast are different briefs. None automatically solves the functional requirements. Lay out the proposed arrangement beside the garment without making permanent changes, and check whether the position of each button makes sense rather than assuming a mixed collection becomes coherent once attached.
If only one suitable replacement is available, consider whether that resolves the actual missing fastening or creates a new mismatch you do not want. Do not replace every sound original solely to make a repair look uniform without considering the loss of the existing set. Equally, keeping every original at any cost may not meet the practical need. Separate what you value about the appearance from what the working fastening requires.
How do you brief a repairer without leaving the choice ambiguous?
Bring the garment and the candidate components, then identify each intended position. Explain whether preserving originals, quiet matching or intentional contrast is the priority. Ask which choices are compatible with the construction and what would happen if a proposed part is unsuitable. Do not give a general instruction to make it look right if you have a specific arrangement in mind but have not shown it.
Confirm the scope before work starts, including whether any original components would be removed and returned. If a suitable replacement still needs finding, keep that uncertainty visible rather than approving an unknown substitute to finish quickly. You can make a better decision when the options are clearly separate: retain, replace, seek another part or consider an appropriate alteration after advice about the actual garment.
What should you check after the buttons are attached?
Try the intended fastenings gently and in their designed direction. Check the garment in the outfit you expect to wear, without pulling closures into a forced position. A button that closes while the garment lies flat may still need assessment during ordinary movement. If something catches or feels wrong, stop forcing it and return to the repair question rather than assuming repeated use will necessarily resolve the issue.
Inspect the overall arrangement as well as the one repaired position. Make sure the components you agreed to retain are accounted for and that any returned originals are identified. A completed-looking row is not the only measure of success. The garment should remain manageable for the intended use, and any further work should be considered explicitly rather than hidden behind the fact that all the holes are now occupied.
How do you store spare parts and retain useful repair information?
Keep suitable spare components and any returned originals labelled with the garment identity, not just the colour or an approximate year. Record which parts were fitted and which remained unused if the difference is not obvious. Store them appropriately away from the garment where necessary, but in a place you can actually find when another repair is needed. An anonymous jar recreates the original selection problem.
Retain the garment’s care guidance and clarify any implications of replacement components with the repairer where relevant. Do not assume that an unknown older button can tolerate every treatment the fabric previously received. A useful record need not be elaborate: garment identity, repair position and retained parts may be enough. The purpose is to make the next decision more informed, not to turn one small repair into a complicated cataloguing project.
A considered button set keeps appearance and function connected. Decide the arrangement before the needle makes the choice permanent.
Which practical check fits the situation?
| Situation | Practical check |
|---|---|
| Before selection | Record positions, original parts and buttonhole requirements. |
| Before sewing | Agree the functional repair set and intended visual arrangement. |
| After repair | Check gentle operation and identify any retained spares. |
Related reading
- French Vintage Linen Dresses: How to Choose and Style the Soft A-Line Look
- How to Sew On Buttons and Snaps Before a Thrifted Jacket Fails
- Visible Mending: Easy Ways to Repair Jeans and Sweaters
Frequently asked questions
Not always. A deliberate arrangement can work, but the fastening and garment requirements still apply.
Do not alter it by guesswork. Ask about the appropriate repair or alteration options first.
No. Shape, thickness, attachment and compatibility with the actual buttonhole also matter.
Discuss this before work begins and keep any retained components identified with the garment.
Not automatically. Clarify unknown components and any relevant care implications before treating the repaired garment.