
By Sarah J. · December 5, 2025
Choose elbow patches after assessing the worn area and suitable repair method, not before. The required support and garment construction set the brief; colour and contrast should sit within an appropriate plan that also makes later care and ordinary movement clear.
Key takeaways
- Record the real wear.
- Set function before colour.
- Confirm later care.
Observe the actual wear
Inspect the area gently and note whether the issue involves thinning fabric, a hole or a seam. Do not cut a neat shape around it to make the damage look simpler. The repairer needs the real starting condition.
Ask about size and method
Discuss the suitable repair route for the actual textile and location. A patch chosen for appearance alone may not meet the construction brief. If you do not have the relevant skill, avoid attaching a piece experimentally and hoping it creates support.
Choose the visible relationship
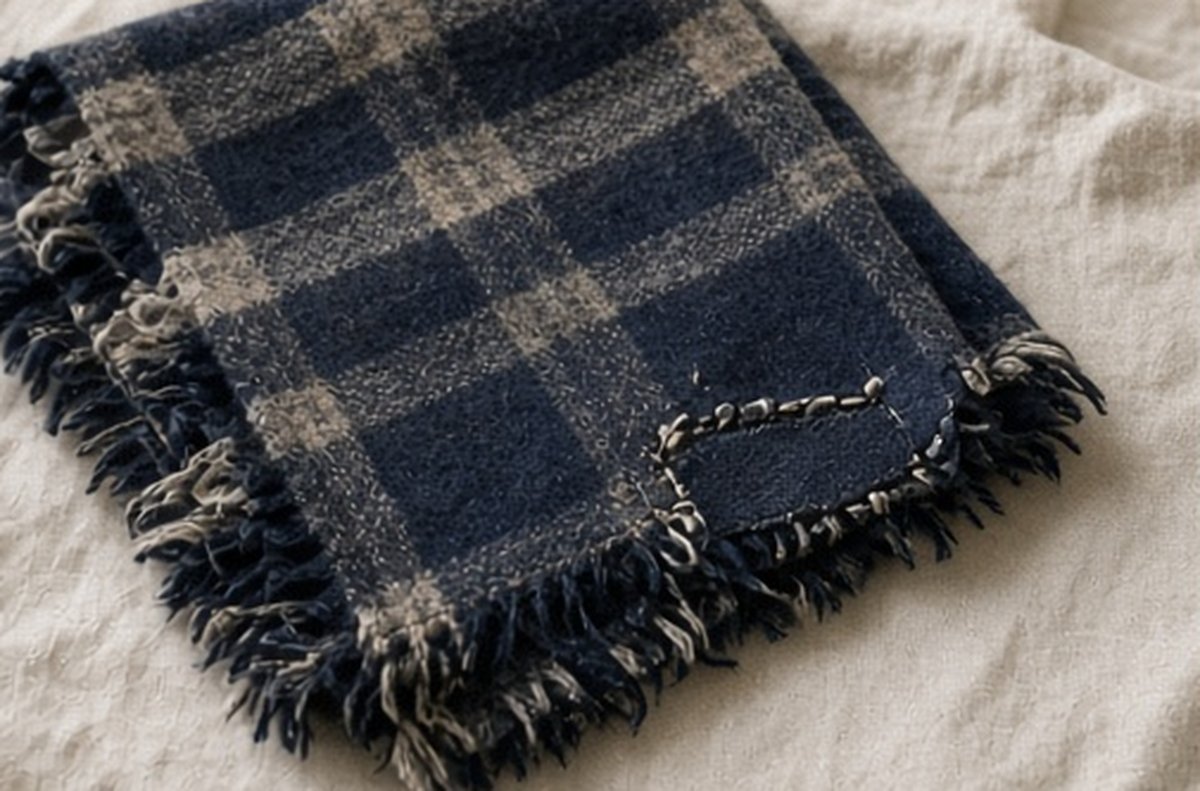
Once the functional options are clear, decide whether you want a quiet match or deliberate contrast. Keep any added material's care implications visible. The aim is a garment you will use, not an attractive patch that leaves the original problem unresolved.
What should you inspect before choosing elbow patches?
Look gently at the actual damage without trimming it into a convenient shape. Identify whether the issue appears to involve thinning, an opening or a seam, and note its position on the sleeve. A visible hole may not represent the full area needing assessment. Keep the starting condition available for the repairer instead of making a decorative patch size the boundary of the problem before the construction has been considered.
Photographs and simple notes can help explain what you noticed, but they do not replace examination of the garment when the method is uncertain. Include the material and care information you have. If you do not know the construction, say so rather than assigning a familiar label. A precise description of what is known and unknown gives the repair discussion a stronger start than choosing a favourite colour first.
How should the worn area influence the repair discussion?
Ask a competent repairer to assess the relevant area and explain what support the particular garment needs. Do not assume that covering the visible mark resolves the construction issue beneath it. The size, shape and attachment of any patch belong to the repair plan. A piece selected solely for decoration may be too limited, inappropriate for the textile or difficult to incorporate without another change.
Keep measurement information clear if it is requested, including the method and what the dimensions describe. The visible opening, the surrounding wear and a proposed patch are different things. Avoid treating one number as a universal allowance or cutting template. The correct approach depends on the actual garment, and advice should establish the practical scope before you commit to a decorative component that may not suit the job.
What makes a candidate patch material worth considering?
Ask about compatibility with the garment’s construction, intended use and care rather than assuming any attractive remnant can become an elbow patch. The way the sleeve moves and the location of the worn area matter alongside appearance. A material that looks similar in a photograph may have a different feel or handling requirement. Keep those uncertainties visible instead of choosing by colour and hoping the attachment will solve the rest.
Bring candidate material to the assessment if you already have something suitable to consider, but leave room for another recommendation. Do not attach a test piece experimentally when you lack the relevant skill or understanding of the textile. An attempted shortcut can make it harder to assess the original condition. The useful aim is an appropriate repair route, not proving that the first available scrap must be the sustainable answer.
When should you choose a quiet match or visible contrast?
Make the appearance decision once the functional options are clear. Think about whether you want the repair to blend with the garment or become an intentional visible feature. Neither preference removes the construction requirements. Look at the proposed relationship with the whole garment rather than judging the patch in isolation; a colour you like separately may not be the one you want to wear on that particular sleeve.
Ask what choices remain within the suitable repair method and let the wearer decide the preferred appearance. Do not treat a visible repair as automatically more thoughtful than a quiet one, or insist that every repaired garment should display its history in the same way. The meaningful outcome is a piece the wearer wants and can appropriately use, with the original issue addressed rather than merely hidden beneath an attractive shape.
Do both elbows need the same treatment?
That is a garment-specific assessment and appearance choice. Check both areas, but do not assume that damage on one side establishes the condition of the other. A matching pair of patches may be a wanted visual arrangement, while the actual support requirements can differ. Keep the decision about symmetry distinct from the repairer’s assessment of what each part of the garment needs.
Confirm the scope before work begins, including whether the work affects one area or both and what additional material would be used. Avoid approving an unspecified second patch just to make the instructions sound complete. If the choices are unclear, ask for the options and implications. A clear brief helps prevent the finished appearance from being determined by an assumption neither the wearer nor repairer intended to make.
What should you check after the repair is complete?
Try the garment through gentle ordinary movement without forcing the sleeve or treating the repair as something to stress-test. Notice comfort and the relationship between the repaired area and the surrounding garment. If a question remains, return to the repairer rather than pulling or altering the work yourself. The aim is to establish practical use within the agreed method, not to prove that any repaired area should tolerate every possible demand.
Clarify the care of the complete repaired garment, particularly where a new material has been introduced. Keep the relevant information with the garment record instead of assuming the original routine remains unchanged in every respect. Note the repair position and any retained materials if that helps later maintenance. A useful result combines an appropriate repair, a chosen appearance and a realistic care plan, not simply a colour that matches the rest of the wardrobe.
A good patch decision starts at the damaged area. Let the chosen appearance sit within an appropriate repair plan.
Which practical check fits the situation?
| Situation | Practical check |
|---|---|
| Before selecting colour | Assess the actual wear and garment construction. |
| Before attachment | Agree method, compatible material and appearance. |
| After repair | Check ordinary use and clarify care of the complete garment. |
Related reading
- How to Patch Elbows on Sweaters Before Holes Spread
- Find of the Week: The Shirt Waiting for One Button Decision
- Mismatched Vintage Buttons: Choose the Repair Set Before Sewing
Frequently asked questions
That is an item-specific repair and appearance decision, not a universal requirement.
Do not assume compatibility. Ask about material, method and care for the actual garment.
Do not assume so. Ask for an assessment of the actual condition, including relevant surrounding wear and construction.
Not automatically. Contrast and quiet matching are appearance choices within a suitable functional repair plan.
Clarify that for the repaired garment, particularly when a different material or construction has been introduced.