
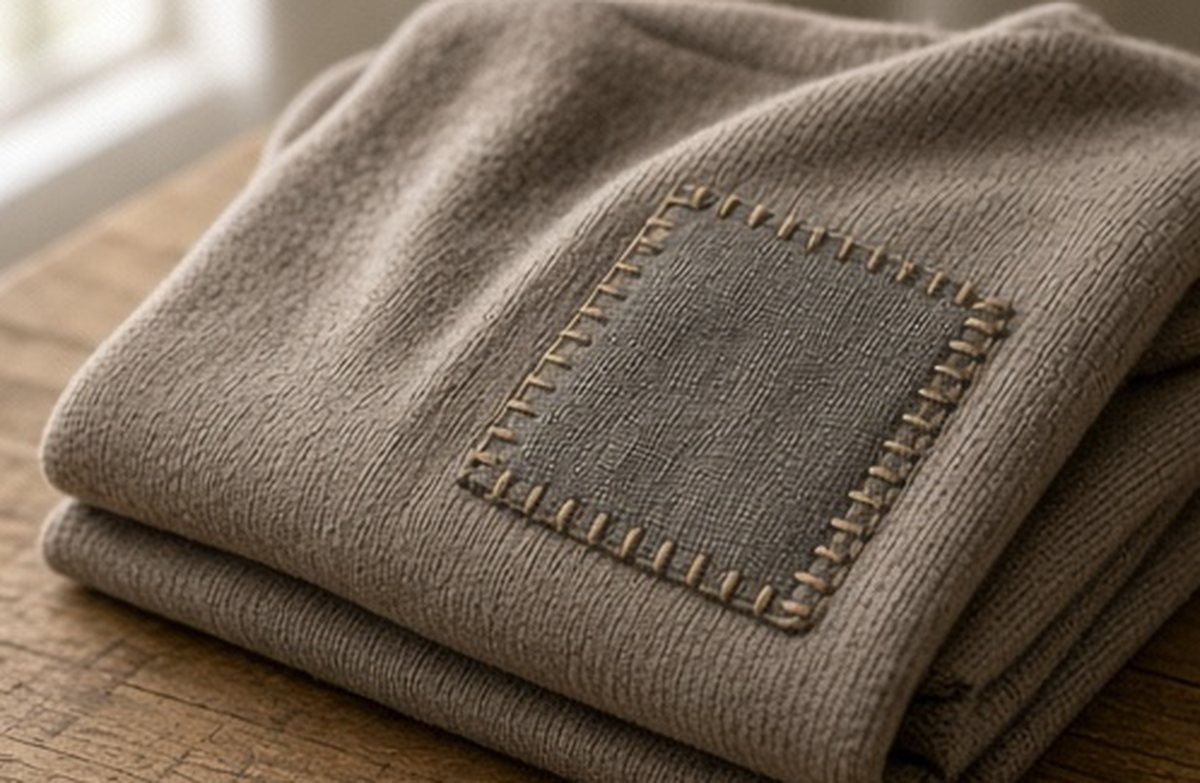
A loop or thread protruding from knitwear can invite an immediate cosmetic fix. Before reaching for scissors or a fabric shaver, pause. What looks like a loose end may be connected to the fabric's structure, and an action that removes the visible part can change the problem rather than solve it.
This guide does not diagnose a particular snag or teach a universal repair. Knit constructions and damage vary. The useful first steps are to stop unnecessary handling, record what you can see and obtain appropriate advice when you do not understand the area. A calm assessment can preserve more options than an improvised fix.
Describe what is visible without naming the repair
Look in ordinary light and note the location, size and appearance of the change. Is there a visible loop, an opening, surface fuzz or another feature? Keep those observations separate rather than calling every irregularity pilling or every thread a harmless loose end.
Do not pull on the area to demonstrate how far it extends. A photograph and a clear description can be useful without a stress test. If the garment is unfamiliar, avoid assuming that the construction behaves like another sweater you repaired successfully. Similar appearance does not establish an identical problem or solution.
Stop the repeated contact
If you notice the area catching on a bag, jewellery or another object, stop that contact where practical. Inspect the other item's visible condition without dragging it across the knit as an experiment. This does not prove the cause, but it can prevent unnecessary repetition while the garment is assessed.
Keep the affected piece away from unsuitable surfaces and handle it gently according to its care needs. Do not continue wearing it solely to see whether the loop gets worse. The next useful action is understanding the issue, not collecting more evidence through avoidable friction or pulling.
Do not cut an unfamiliar loop
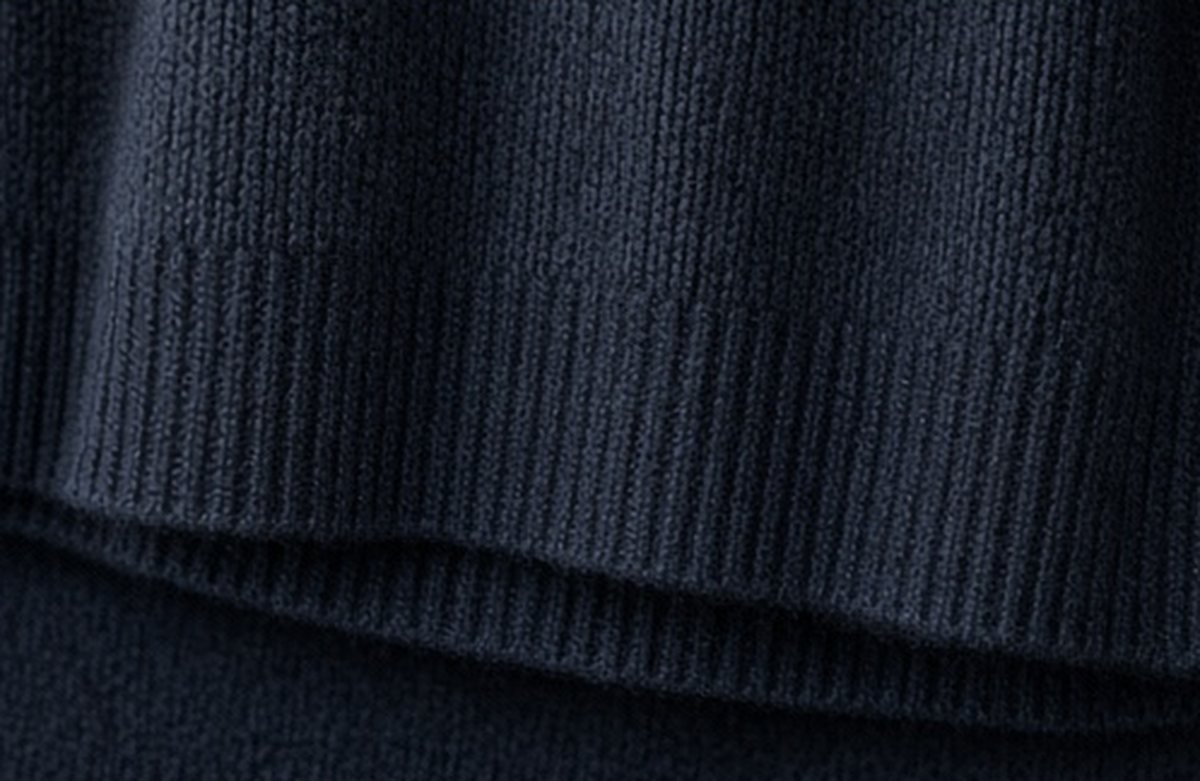
A protruding loop should not be treated as surplus material simply because it is visually inconvenient. Do not cut it, shave over it or apply adhesive without appropriate knowledge of the actual construction and damage. A surface tool intended for another problem is not automatically suitable here.
If a tool's instructions or a general tutorial do not clearly apply, leave the area intact and seek advice. The goal is not to make the garment look tidy for a photograph at any cost. It is to choose a repair route that respects how the fabric is made and what condition it is in.
Read the garment information
Find the composition and care label, along with any relevant maker guidance. This information can support a repair enquiry, though it does not diagnose the snag by itself. A fibre name and a construction photograph answer different questions, so keep both available where possible.
If the label is missing, say so rather than guessing a percentage from softness or appearance. A repair professional may still be able to assess the item, but uncertainty should be visible. Do not apply a cleaning or steaming process in the hope that it will solve an issue you have not identified.
Photograph context and detail
Take one clear view of the whole garment and another of the affected area, without stretching it. Include a suitable size reference if useful and safe, keeping it beside rather than pressing it into the fabric. Check that the image actually shows the detail before relying on it.
A photograph can help explain the question, but it is not a substitute for an in-person assessment when one is needed. Avoid demanding a guaranteed repair or lifespan prediction from a remote image. The useful result may be a recommendation to inspect the actual garment before deciding what work is appropriate.
Consider the item's purchase status
If the garment is new or the issue may need to be discussed with the seller, preserve its condition and follow the relevant process. Do not attempt an alteration first and then assume the original issue can still be assessed in the same way.
Keep order information and clear photographs where relevant. Describe what you observed without inventing a cause or making a broad claim about a brand from one uncertain detail. This is a practical way to seek a suitable next step while keeping the evidence understandable and the garment intact.
Choose a repair route within your skills
If you have reliable knowledge of the exact construction and an appropriate method, you may be able to carry out suitable work. This article cannot establish that from a description alone. Be honest about the boundary between a familiar task and an experiment on a valued garment.
A qualified repair professional is a sensible option where the area is structural, the damage is extensive or you are uncertain. Ask what the proposed work can and cannot achieve. A repair may change appearance, and a cosmetic improvement should not be described as proof of unlimited remaining durability.
Record the outcome and adjust the combination
Keep a short note of any work done and relevant care advice. If a particular bag or accessory repeatedly catches the garment, review that combination before wearing it again. Do not turn one observation into a universal ban on knitwear or a guarantee that another bag will never cause contact.
The important first step is often restraint. Leaving an unfamiliar loop intact, documenting it clearly and asking the right question can be more useful than a quick cut. A successful clothing-care habit preserves the chance of an appropriate repair rather than making the visible symptom disappear at the expense of information.