
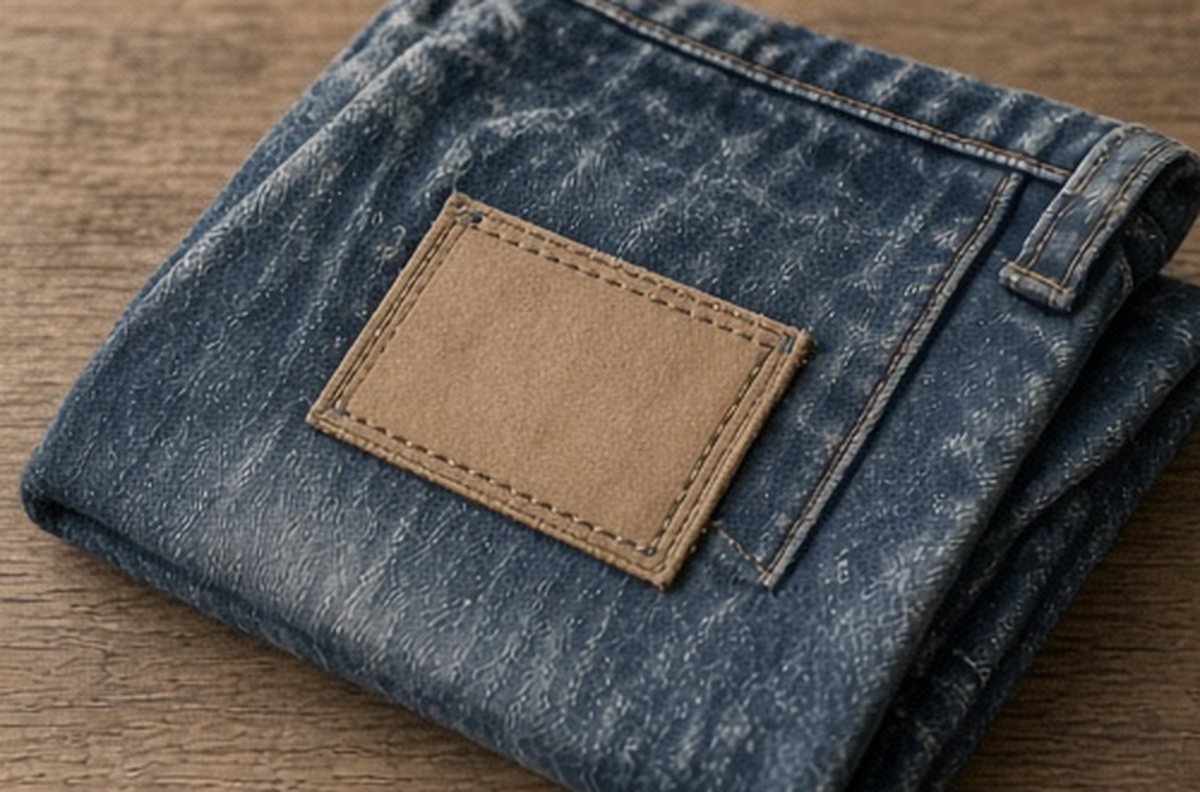
Visible mending can make a repair part of a garment's appearance, but visibility should be a choice rather than an accident. Before selecting thread or a patch, decide what the mend is meant to look like and whether the person wearing the garment wants that result. The design decision and the repair's practical requirements are related, not identical.
This is a colour-planning guide, not an instruction that every damaged area can be fixed with decorative stitches. Assess the actual garment and seek appropriate repair advice where needed. A visually appealing plan does not establish that the fabric, seam or surrounding area has received the support it requires.
Confirm who is choosing the appearance
If the garment belongs to someone else, ask about their preference before making a visible change. They may want a discreet repair, enjoy contrast or prefer to leave the decision until they understand the options. Do not treat your own enthusiasm for mending as permission to redesign another person's clothing.
For your own piece, identify what would make you want to wear it again. A bright patch may be appealing, or you may prefer the repair to remain quiet. Neither choice needs a moral story. The useful outcome is a garment whose repaired appearance suits the actual wearer.
Separate the damage assessment
Look at the affected area and its surroundings before planning a pattern. A small hole, worn patch and failing seam can involve different work. Do not choose a decorative technique solely because it looks suitable in a photograph of another garment.
If the area is extensive, structurally important or unfamiliar, consult a qualified repair professional. Colour can be discussed once the practical options are understood. A repair that needs support should not be reduced to a surface motif, and a garment beyond your skills should not become an experiment simply because you like the design idea.
Choose the visual volume
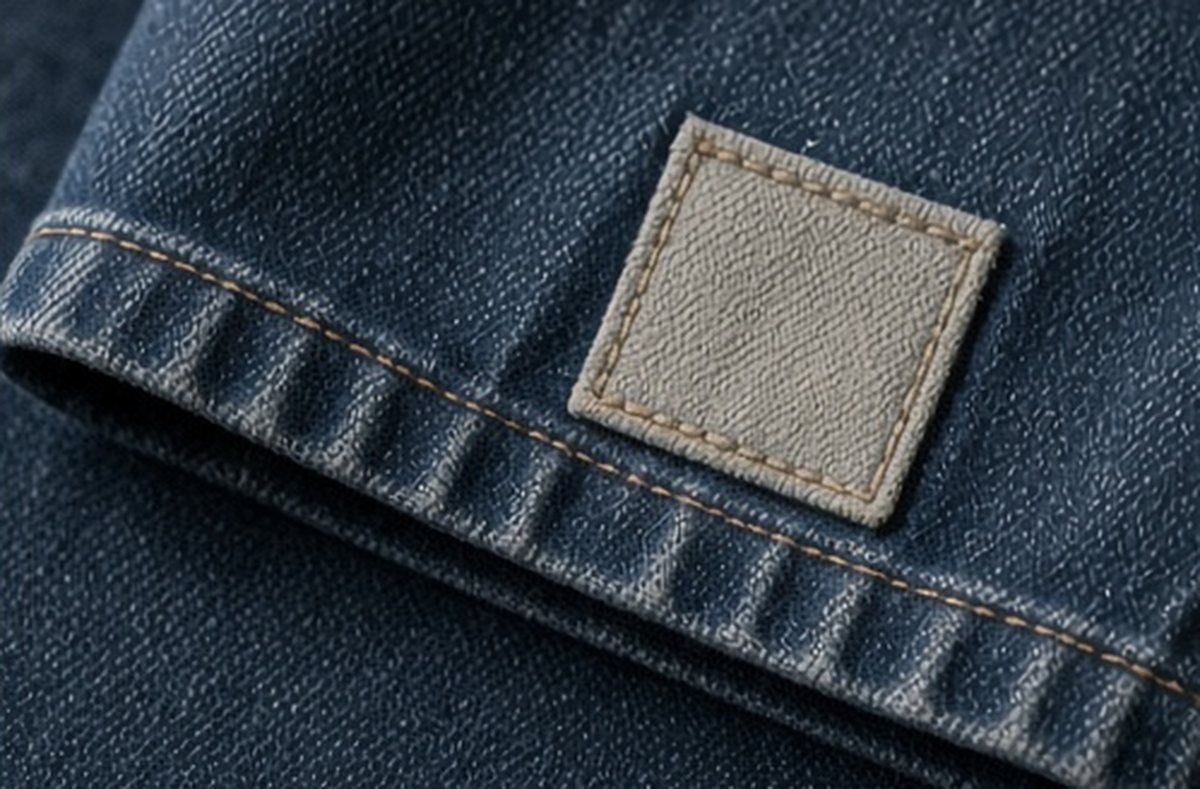
Think in three broad options: close match, related colour or deliberate contrast. These are design categories, not technical prescriptions. A close match may make the area less noticeable; a related shade can acknowledge the repair quietly; contrast can make it a focal detail.
Place available thread or suitable material beside the garment without attaching it. Look in ordinary light and consider the whole item, not only the damaged spot. A small bright choice can have a larger visual effect when repeated, while a subtle difference may still be noticeable in another setting. The aim is an informed preference, not a guaranteed result.
Use the existing outfit as context
Consider the clothes the garment usually accompanies. A repair does not have to match every item in the wardrobe, but it should not make a favourite combination feel unexpectedly difficult to wear. Start with one or two ordinary outfits rather than designing for an imaginary future wardrobe.
If the garment already has a pattern, decide whether the mend will echo a colour, interrupt the pattern or sit quietly within it. Do not assume more pattern is always more expressive. A restrained choice can be just as deliberate as a high-contrast one when it supports the wearer's preference.
Check material suitability separately
A colour match does not establish that a patch or thread is appropriate for the repair. Material, construction and care compatibility still need attention. Do not use a visually appealing scrap without considering whether it suits the garment and the technique selected.
Read relevant care information and use appropriate advice for unfamiliar combinations. A repair becomes part of the garment's future maintenance. Avoid assuming it can tolerate the existing cleaning routine merely because the colours coordinate. The practical choice should support the garment's use rather than introduce an unmanageable care problem.

Try the appearance without damaging the item
A loose arrangement beside the garment or a simple sketch can help compare options. Do not apply strong adhesive, permanent marks or unapproved temporary products just to preview a design. If you use a sample, use suitable scrap material rather than experimenting directly on a valued area.
Keep the preview modest. It cannot fully predict how the finished repair will look after wear and care. Its role is to help choose a direction and communicate with a professional or another person doing the work. A clear preference is useful without pretending the preview is a precise simulation.
Decide how much repetition is wanted
One visible repair may be enough. You do not need to add decorative work elsewhere to make the garment look intentionally transformed unless that is genuinely what the wearer wants. Extra stitches or patches create more work and can change the item's role.
If you do want a repeated detail, distinguish decoration from the repair itself. Keep the structural work appropriately assessed and do not assume a decorative echo strengthens another area. The design can connect the garment visually while the practical purpose of each element remains clear.
Record the finished choice
Keep a brief note about the repair, materials used and any relevant care advice. A photograph can preserve the appearance and help a later repair professional understand what changed. Do not invent a lifespan guarantee or describe a decorative result as proof that the garment is now stronger everywhere.
A thoughtful colour plan makes visible mending more wearable because the appearance is chosen in context. It respects the garment's owner, the repair's actual needs and the wardrobe around it. Contrast can be joyful, matching can be quiet, and either can be useful when the practical work and visual decision support each other.